
Branko Kopic contacted Cinescopophilia and shared a few details about the MoCo slider he has been working on.
I going to let Branko do the talking on his DIY single axis slider. Oh and he tells us there is a 3-axis slider that is almost ready to show off too.
I’m trying to make a small research how much this slider would be interesting for Photographers and Videographers.
The slider uses Nema 17 stepper motor 0.9 deg. Timing belt goes through one channel, pulling plastic bearing and goes back through mid void space of extrusion.The slider comes with 12V battery and the AC adapter.
Using joystick and large LCD the slider can be operated manually (jogging with joystick) or you can program it. (two modes: VIDEO & TIME LAPSE)
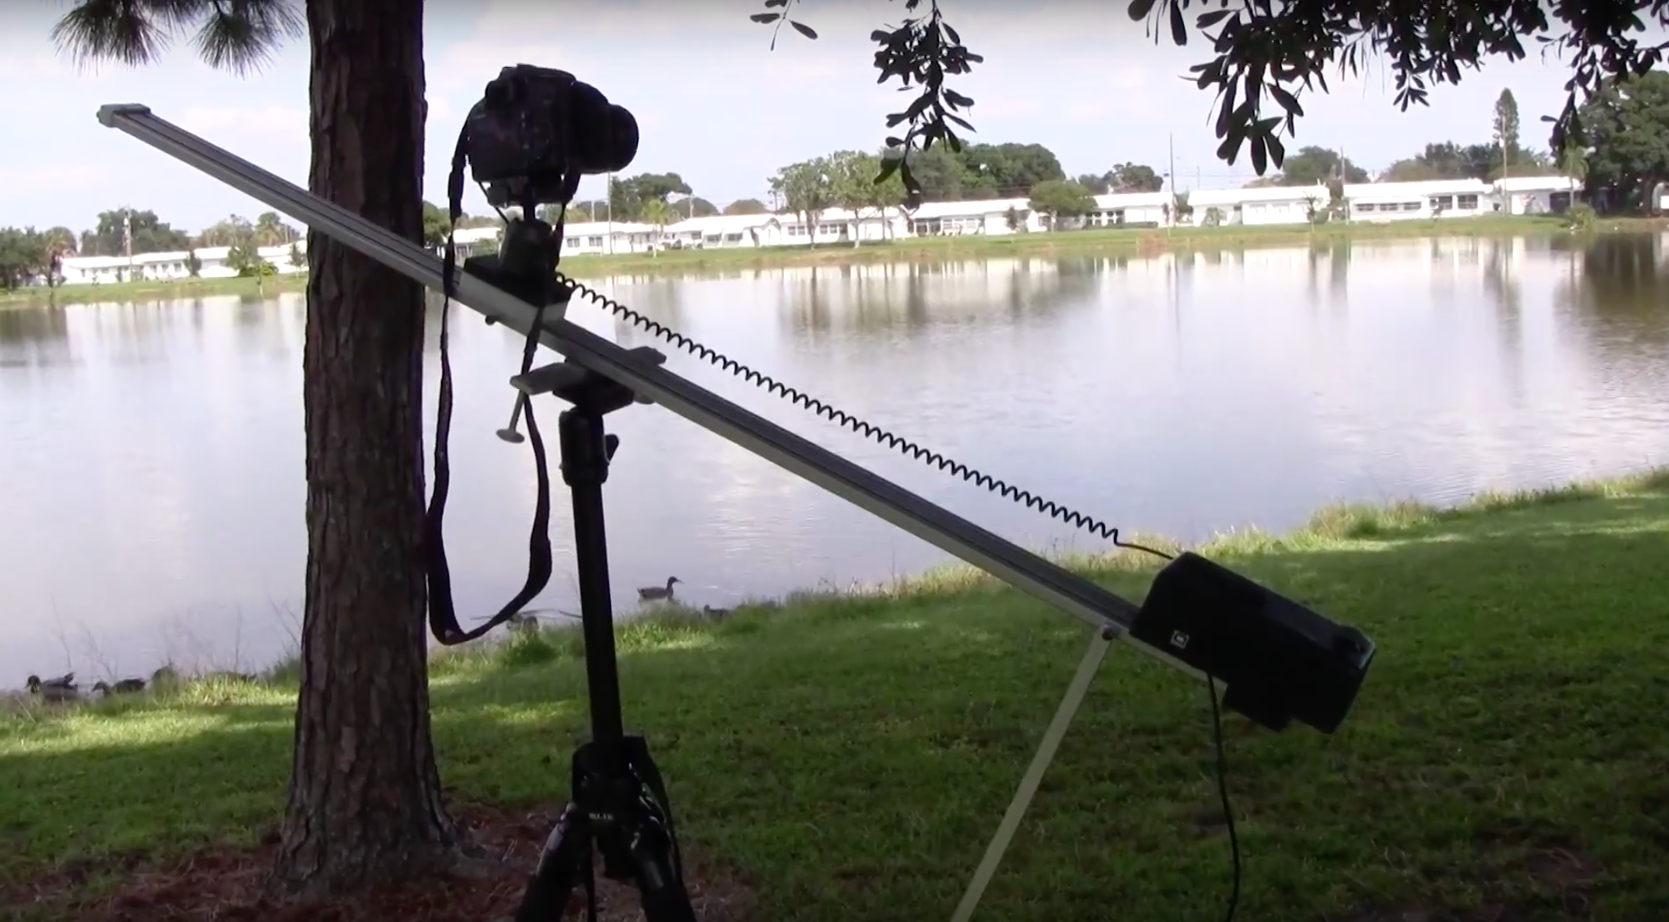
The slider can run vertically or horizontally.
There are no exposed elements like pulleys or belts. It can be placed on the grass!
The whole slider but the control box can go under water. No rusty parts or ball bearing. No maintenance.
One pair of adjustable feet is included with the slider. Each foot has 1/4” and 3/8” mounting hole for the tripod.
The slider has three mounting positions. The feet are designed to lock in place without any tools.There will be two different lengths: 120cm(48″) and 90cm(36″). The slider on this video is 120cm and its actual movement is 105cm. The slider of this length (105cm) can go for 47sec (fastest) what is 2.2cm/sec. The slow speed is more then one hour. The speed of the Slider will be chosen by the length of your recording time–the longer you record, the slower the Slider moves.
By default, the Slider has start position by the control box and the end position at the end of the Slider.
The slider has soft limits – it wouldn’t go beyond the end of aluminum extrusion.You can choose any two points on the slider’s path to be the starting and ending positions whether you’d like to record from right to left or left to right. If start position and stop position are set , you can also choose to record in the loop mode. You can exit the loop mode by pressing the joystick down.
TIME LAPSE (SMS)
When setting up the time-lapse mode, you first enter the number of pictures you’d like to be taken–the default is 100. You then choose your shutter interval–the length of exposure. The shot delay is the time you’d like the camera to stand still between one motion and the next. Once you’re done with the input, the screen will display the time in which the time-lapse will be completed and will ask you whether you’d like to go ahead with this setting. For the duration of the time-lapse, the screen will display the number of shots remaining as well as the time remaining. The Slider can be set by length interval too.Picking starting and ending position at same spot, the slider wouldn’t move. However, for you to still be able to use all the picture-taking functions. That is, you can set the Slider to be stationary while it takes the pictures in accordance with the specifications you’ve input into the control box.
The production can start any time, and the cost would be $650-$700. The production shop is set, no difficulties with production materials too.
For more: KIS Slider.